Star buys on selected products
 Read our latest reviews
Avery 700 Sign Vinyl


Central UK Location
Daily deliveries throughout
the UK and Europe
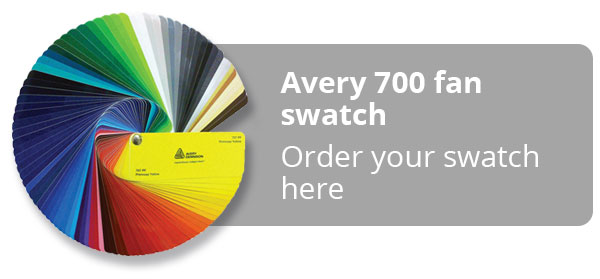
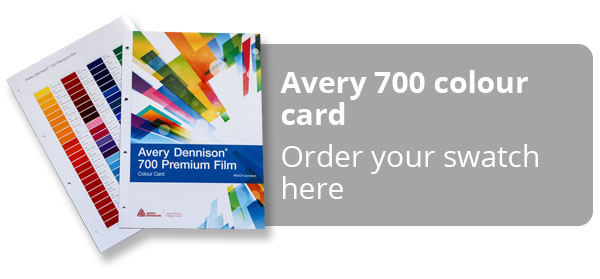
Avery Dennison 700 Premium Films are ideal for many medium-life indoor and outdoor applications with an excellent dimensional stability. Avery 700 sign vinyls are available in a very extensive range of standard colours. Any other colour can be ordered through our extended colour match services.
- Superior cutting and weeding
- Excellent dimensional stability
- High gloss appearance
- Attractive colour range - all REACh compliant
- Good opacity
FREE first slit!
Need your vinyl slitting down? No worries – your first slit is absolutely FREE! Any further slits are just £3.50 each – type your requirements in the comments box at checkout and we’ll contact you for payment.
Full roll length: 50 metres
Avery Dennison 700 Premium Films can be cut on a wide variety of computerised sign cutting equipment. Die cutting will also show good performance. Avery Dennison 700 sign vinyl can be thermal transfer printed. Avery 700 Vinyl in many colour options in matt or gloss with width options, in stock ready to go. The Thickness of Avery 700 is 90 micron (including adhesive) using an adhesive which is adhesive permanent and acrylic based.
Facefilm: 64 micron polymeric vinyl film
Adhesive: permanent, acrylic based
Backing paper: one side coated bleached kraft paper, 125 g/m2
| Gloss | ||||
|---|---|---|---|---|
| Thickness: | 90 micron (including adhesive) | |||
| Adhesive: | Permanent, acrylic based | |||
| Backing paper: | One side coated bleached kraft paper, 125g/m2 | |||
| Shelf life: | 2 years (stored at 22°C / 50-55% RH) | |||
| Durability*: |
|
|||
* The durability is based on middle European exposure conditions. Actual performance life will depend on substrate preparation, exposure conditions and maintenance of the markin, but a 5-7 year vinyl lifetime is expected. For instance, in the case of signs facing south; in areas of long high temperature exposure such as southern European countries; in industrially polluted areas or high altitudes, exterior performance will be decreased.
Avery 700 Sign Vinyl Recommendations for use
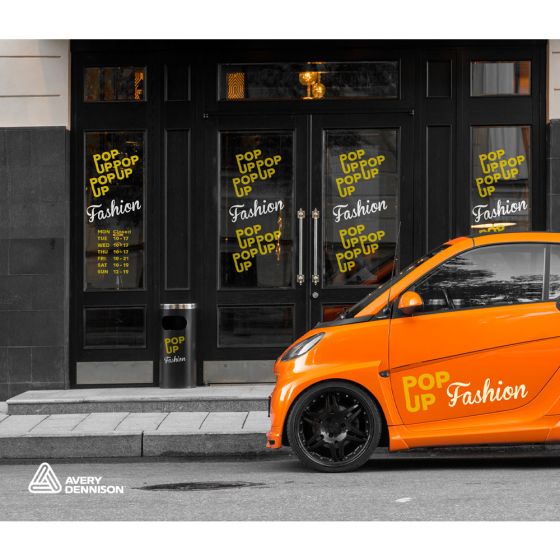
Avery Dennison 700 Premium Films offer a very wide range of special colours for:
- Window graphics
- Directional signage, indoor and outdoor
- Vehicle graphics, rigid sided
- Poster sites
- Promotional displays
Application surfaces may vary from regular flat to curved substrates for which a medium-term durability is required.
FAQ
Our Avery 700 is available in matt or gloss finish.
Our Avery 700 range comes in 2 standard widths; 610mm and 1220mm.
Avery 700 has a range of over 100 colours, available in gloss or matt.
Avery 700 has been manufactured to make it easy to weed, even fine details.
We offer a free first slit service, so we can cut the initial roll to a chosen width, free of charge.
Depending on the colour and finish, it can be up to 8 years.
Avery 700 has a range of uses, due to its properties, these include Window graphics, Directional signage, indoor and outdoor, Vehicle graphics (rigid sided), Poster sites, and Promotional display.
The shelf life of Avery700 is stated as 2 years by the manufacture, when stored at 22°C and 50-55% RH.
Avery 700 should be applied at a minimum of 10°c and once applied, it is safe between -40°c & +110°c
Avery 700 has a face film width of 64 microns as opposed to avery500 face film of 70 microns. This thinner nature makes it more conformable and easier to shape.
Avery Dennison® 700PF Premium Film Product Specification
Download a full product specification for Avery Dennison® 700PF Premium Film here
Avery 700 sign vinyl product overview
Find out more about Avery 700 sign vinyl
Applying sign vinyl correctly is crucial for an attractive and durable finish. This guide covers the necessary tools, step-by-step instructions for both dry and wet application methods, and advice on troubleshooting bubbles and wrinkles.
Tools You Will Need For the Application of Sign Vinyl
- Squeegee
- Soft Cloth
- Masking Tape
- Wax Pencil
Instructions On How To Apply Sign Vinyl (Dry Method)
- Clean the Surface: Ensure the application surface is free of oil, dust, or dirt.
- Prepare the Vinyl Graphic: Place your vinyl graphic on a flat surface with the application tape side up. Use firm pressure with your squeegee to wipe the lettering. This helps the lettering stick to the application tape and release from the backing paper.
- Mark Guidelines: Use your wax pencil to mark appropriate guidelines on the substrate surface.
- Position and Hinge: Carefully place the vinyl graphic onto the desired surface. Secure a strip of masking tape to the top edge of the surface, creating a hinge.
- Remove Top Backing: Lift the vinyl graphic, pull back, and cut away the top section of the backing paper.
- Initial Placement: Hold the base of the vinyl graphic and allow it to return to its initial position.
- Apply and Remove Backing: Using your squeegee with light pressure, start from the top and work your way down using horizontal strokes. Apply the vinyl graphic while progressively removing sections of the backing paper.
- Final Squeegee Pass: Once all backing paper is removed, go over the vinyl graphic with your squeegee, applying more pressure.
- Allow to Cure: Leave the vinyl graphic for 10–15 minutes.
- Remove Application Tape: Carefully remove the application tape diagonally at a 180-degree angle.
- Finish: Rub the vinyl graphic with a soft cloth, focusing on the edges.
Remember: Take your time, follow instructions carefully, and ensure you have the correct sign vinyl for your project.
What Is The Wet Method For Sign Vinyl?
The wet method involves applying a vinyl graphic to a surface using water and soap. It's frequently used for large vinyl graphics because it allows for easier repositioning when the surface is wet. However, improper application can still lead to air bubbles and wrinkles.
Instructions On How To Apply Sign Vinyl Using The Wet Method
- Clean the Surface: Ensure the application surface is free of oil, dust, or dirt.
- Prepare the Vinyl Graphic: Place your vinyl graphic on a flat surface with the application tape side up. Use firm pressure with a squeegee to wipe the lettering, ensuring it sticks to the application tape and releases from the backing paper.
- Mark Guidelines: Use a wax pencil to mark appropriate guidelines on the substrate surface.
- Remove Backing Paper: Place the vinyl graphic face down on a flat surface and slowly and carefully peel the backing paper away from the vinyl graphic.
- Wet the Surface: Use a spray bottle containing warm (not boiling) water and a small amount of washing-up liquid. Spray the area where you're applying your vinyl graphic.
- Wet the Vinyl Graphic: Spray a small amount of the same water and washing-up liquid solution onto the adhesive side of the vinyl graphic.
- Position the Graphic: Place the vinyl graphic on the wet surface, using your guidelines to help position it. You can remove and reposition the vinyl graphic as long as the surface remains wet.
- Squeegee Out Water/Bubbles: Once correctly positioned, use your squeegee to force out bubbles and water. Start at the centre and work your way out, ensuring as much water as possible is removed from under the vinyl graphic.
- Allow to Dry: Allow the vinyl graphic to dry for 1 hour and 15 minutes.
- Remove Application Tape: Carefully peel the application tape diagonally, ensuring your hand is firmly on the vinyl graphic whilst peeling.
Can You Use Soapy Water To Apply Sign Vinyl?
Yes, soapy water is specifically used with the wet method for applying vinyl. It's beneficial for large graphics as it makes repositioning easier. After cleaning the surface, re-wet it with a spray bottle containing warm water and a small amount of washing-up liquid before applying the sticker.
How To Remove Air Bubbles From Sign Vinyl
Air bubbles are more common with the wet method. To remove them:
- Use an air release tool to pop air pockets. Do not use a razor blade or knife as this can damage the vinyl.
- Most high-quality vinyl is self-healing.
- Make only one release point and poke a hole in the edge of the bubble.
- After popping the bubble, use a squeegee to go over the puncture.
How To Remove Wrinkles From Sign Vinyl?
If wrinkles appear during application:
- For smaller wrinkles, push from the centre of the wrinkle to the edge of the graphic with your fingernail.
- For large wrinkles, you may need to slit the material and overlap the vinyl.