Star buys on selected products
 Read our latest reviews
Craft Vinyl


Central UK Location
Daily deliveries throughout
the UK and Europe
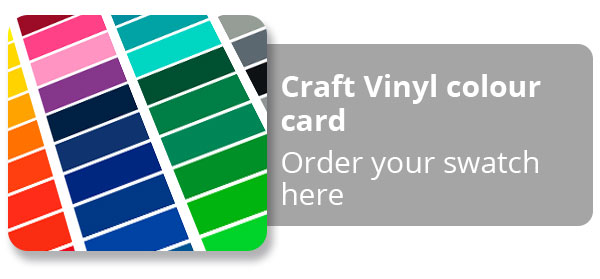
Our waterproof craft vinyl comes in a large colour range and can be cut using a machine cutter, scissors or a scalpel. With 47 colours, including gold and silver, let your imagination run wild and create any number of self-adhesive items!
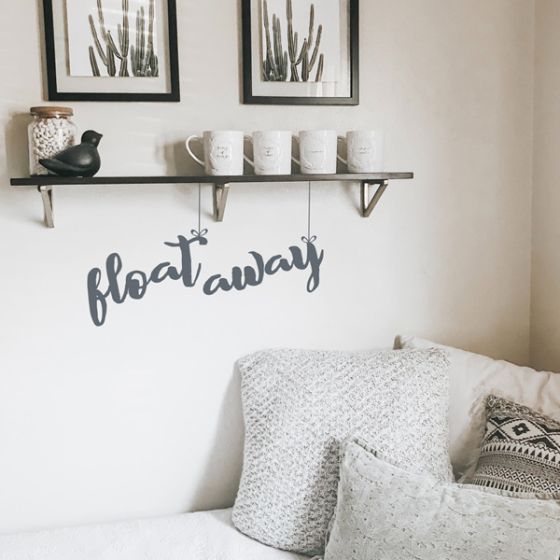
Victory craft vinyl can be cut and stuck to many different surfaces, whether indoor or outdoor, making it ideal for wall decals, plastic containers, glass items, drinks bottles, garden containers and much more. It has a permanent adhesive and has a durability of up to 5 years.
Craft vinyl is also suitable for a range of home DIY projects, such as changing the colour of your kitchen doors or personalising your wheelie bin. It applies easily around simple curved surfaces and has a grid printed onto the liner paper to help with manual cutting and alignment.
With so many colours to choose from and a choice of matt or gloss, we’re sure you’ll find exactly what you need for your project in Victory craft vinyl.
Our waterproof craft vinyl comes in a large colour range and can be cut using a machine cutter, scissors or a scalpel. With 47 colours, including gold and silver, let your imagination run wild and create any number of self-adhesive items!
Victory craft vinyl can be cut and stuck to many different surfaces, whether indoor or outdoor, making it ideal for wall decals, plastic containers, glass items, drinks bottles, garden containers and much more. It has a permanent adhesive and has a durability of up to 5 years.
Craft vinyl is also suitable for a range of home DIY projects, such as changing the colour of your kitchen doors or personalising your wheelie bin. It applies easily around simple curved surfaces and has a grid printed onto the liner paper to help with manual cutting and alignment.
With so many colours to choose from and a choice of matt or gloss, we’re sure you’ll find exactly what you need for your project in Victory craft vinyl.
FAQ
Our craft vinyl is available in matt or gloss finish.
Our craft vinyl comes in 2 standard widths; 610mm and 1220mm.
Our budget crafting vinyl has a range of 47 colours, available in gloss or matt.
Our craft vinyl has been manufactured with a blue backing paper, so its easier and cleaner to weed and see the details.
We offer a free first slit service, so we can cut the initial roll to a chosen width, free of charge.
Depending on the colour and finish, the competitively priced vinyl can last up to 5 years.
Our craft vinyl has a range of uses, due to its properties and competitive prices, these include signage, exhibition stand graphics and short-term promotional displays, along with indoor craft projects.
The shelf life of our crafting vinyl is stated as 2 years by the manufacture, when stored at 22°C and 50-55% RH.
Our craft vinyl has been manufactured with new features for ease of use, including; good initial tack and a high adhesion. These make it quick and simple to apply to basic indoor items or surfaces.
The craft vinyl should be applied at a minimum of 10°c and once applied, it is safe between -40°c & +100°c
Our crafting vinyl can be easily cut by hand using scalpel or scissors, and doesn’t necessarily need a plotter. This opens it up as a viable material for crafters in many areas.
The backing comes with a gridded pattern, to make it easy to cut straight and lined up perfectly.
Applying sign vinyl correctly is crucial for an attractive and durable finish. This guide covers the necessary tools, step-by-step instructions for both dry and wet application methods, and advice on troubleshooting bubbles and wrinkles.
Tools You Will Need For the Application of Sign Vinyl
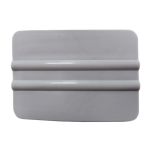
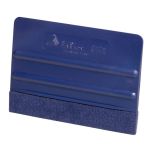
- Squeegee
- Soft Cloth
- Masking Tape
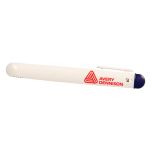
- Wax Pencil
Instructions On How To Apply Sign Vinyl (Dry Method)
- Clean the Surface: Ensure the application surface is free of oil, dust, or dirt.
- Prepare the Vinyl Graphic: Place your vinyl graphic on a flat surface with the application tape side up. Use firm pressure with your squeegee to wipe the lettering. This helps the lettering stick to the application tape and release from the backing paper.
- Mark Guidelines: Use your wax pencil to mark appropriate guidelines on the substrate surface.
- Position and Hinge: Carefully place the vinyl graphic onto the desired surface. Secure a strip of masking tape to the top edge of the surface, creating a hinge.
- Remove Top Backing: Lift the vinyl graphic, pull back, and cut away the top section of the backing paper.
- Initial Placement: Hold the base of the vinyl graphic and allow it to return to its initial position.
- Apply and Remove Backing: Using your squeegee with light pressure, start from the top and work your way down using horizontal strokes. Apply the vinyl graphic while progressively removing sections of the backing paper.
- Final Squeegee Pass: Once all backing paper is removed, go over the vinyl graphic with your squeegee, applying more pressure.
- Allow to Cure: Leave the vinyl graphic for 10–15 minutes.
- Remove Application Tape: Carefully remove the application tape diagonally at a 180-degree angle.
- Finish: Rub the vinyl graphic with a soft cloth, focusing on the edges.
Remember: Take your time, follow instructions carefully, and ensure you have the correct sign vinyl for your project.
What Is The Wet Method For Sign Vinyl?
The wet method involves applying a vinyl graphic to a surface using water and soap. It's frequently used for large vinyl graphics because it allows for easier repositioning when the surface is wet. However, improper application can still lead to air bubbles and wrinkles.
Instructions On How To Apply Sign Vinyl Using The Wet Method
- Clean the Surface: Ensure the application surface is free of oil, dust, or dirt.
- Prepare the Vinyl Graphic: Place your vinyl graphic on a flat surface with the application tape side up. Use firm pressure with a squeegee to wipe the lettering, ensuring it sticks to the application tape and releases from the backing paper.
- Mark Guidelines: Use a wax pencil to mark appropriate guidelines on the substrate surface.
- Remove Backing Paper: Place the vinyl graphic face down on a flat surface and slowly and carefully peel the backing paper away from the vinyl graphic.
- Wet the Surface: Use a spray bottle containing warm (not boiling) water and a small amount of washing-up liquid. Spray the area where you're applying your vinyl graphic.
- Wet the Vinyl Graphic: Spray a small amount of the same water and washing-up liquid solution onto the adhesive side of the vinyl graphic.
- Position the Graphic: Place the vinyl graphic on the wet surface, using your guidelines to help position it. You can remove and reposition the vinyl graphic as long as the surface remains wet.
- Squeegee Out Water/Bubbles: Once correctly positioned, use your squeegee to force out bubbles and water. Start at the centre and work your way out, ensuring as much water as possible is removed from under the vinyl graphic.
- Allow to Dry: Allow the vinyl graphic to dry for 1 hour and 15 minutes.
- Remove Application Tape: Carefully peel the application tape diagonally, ensuring your hand is firmly on the vinyl graphic whilst peeling.
Can You Use Soapy Water To Apply Sign Vinyl?
Yes, soapy water is specifically used with the wet method for applying vinyl. It's beneficial for large graphics as it makes repositioning easier. After cleaning the surface, re-wet it with a spray bottle containing warm water and a small amount of washing-up liquid before applying the sticker.
How To Remove Air Bubbles From Sign Vinyl
Air bubbles are more common with the wet method. To remove them:
- Use an air release tool to pop air pockets. Do not use a razor blade or knife as this can damage the vinyl.
- Most high-quality vinyl is self-healing.
- Make only one release point and poke a hole in the edge of the bubble.
- After popping the bubble, use a squeegee to go over the puncture.
How To Remove Wrinkles From Sign Vinyl?
If wrinkles appear during application:
- For smaller wrinkles, push from the centre of the wrinkle to the edge of the graphic with your fingernail.
- For large wrinkles, you may need to slit the material and overlap the vinyl.